iSpring LS43 Water Leak Detector Alarm System with Automatic Shut-off Valve and 2 Detection Sensors, Connects Up to 8 Sensor to Prevent Flooding
Couldn't load pickup availability
- Free Shipping
- 1-Year Warranty
- 30-Day Return
- Lifetime Tech Support



Features
-
Automatic Shut-Off
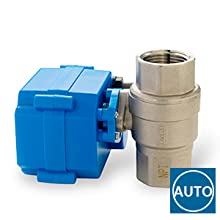
The leak-detecting sensor that automatically turns off the valve once water is detected helps prevent major flooding and water damage.
-
Quick and loud alarm
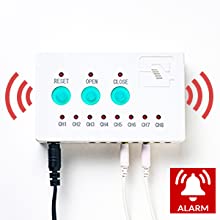
Sounds an alarm immediately to warn people in the house to check. It can be turned off quickly with the RESET button.
-
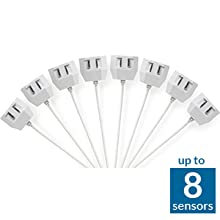
Connect up to 8 sensors
This controller unit can connect up to 8 water detection sensors, allowing you to cover the whole water pipe area in the house.
-
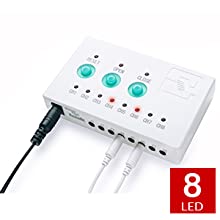
Easy-operated Controller
8 LED lights indicating which sensor has detected water. Three buttons give you different choices to interact freely with the controller.
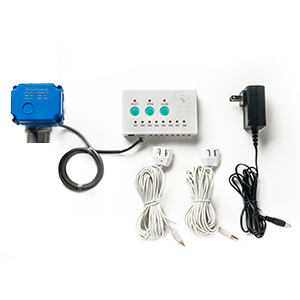
What’s included
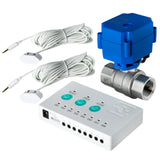
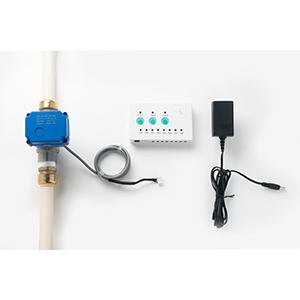
- Ball valve with sound/light alarm
- Controller module
- 5V / 1A Transformer
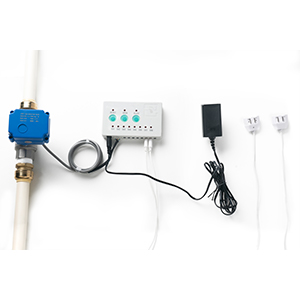
- 2 pieces of water sensors
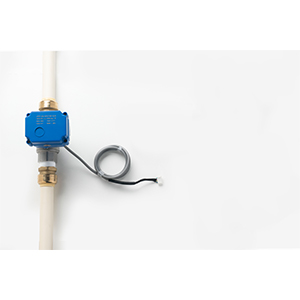
Step1: Install the ball valve to the pipe.
To install the ball valve, shut off the main water supply line, turn on a faucet on the water supply line, drain out the remaining water and air in the pipe. Locate the ball valve's position to be installed, use a pipe cutter to cut the sides of the pipe. Put the ball valve into the spliced pipe. Please note that sweat joints/plumber's cement(not included) may be needed to secure the installation. Depending on the type of the pipes, couplers(not included) may also be required to close the installation.
Step2: Mount the control module on the wall.
The control module should be mounted at a location close to the application that is vulnerable to water leakage, and a power outlet is required.
Step3: Make sure the location is damp.
Place and spread the sensors on the ground. Up to 8 sensors are supported. For best performance, drop the sensors at places close to the wall and which may have direct contact with water in case of a leak incident.
Step4:
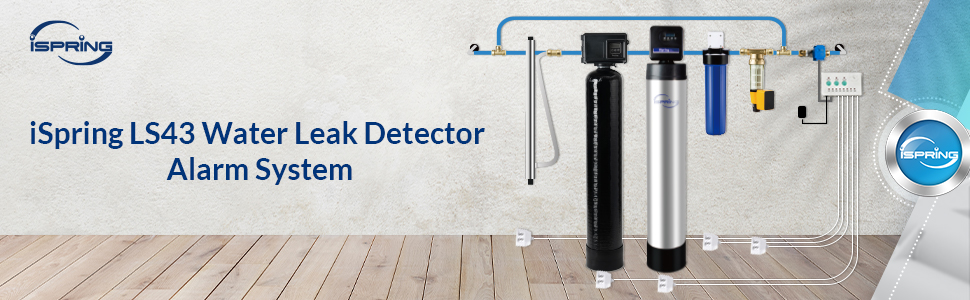
Plug the power cable, valve cable, and sensor cables into the ports on the control module.
Manuals
iSpring vs Other Brands